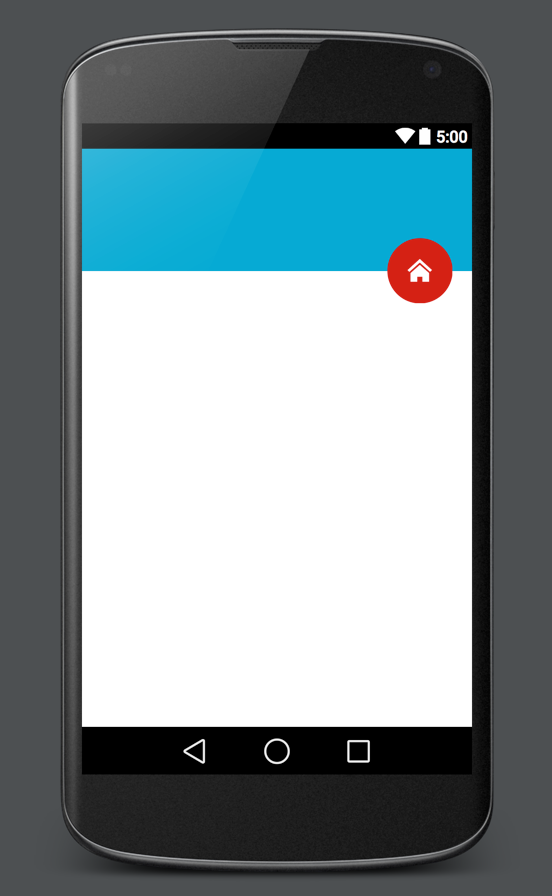
With the introduction of Android Lollipop, a lot of emphasis was given to floating action buttons, otherwise known as FAB. Here I’ll show you my implementation of FAB between two views.
In your relative layout create 2 views, one is the header, the other the body. Then add your FAB. The trick is to use negative margin on the FAB to fix it between the views. The elevation on the FAB will only work on Android 5.0 or above.
layout/main_activity.xml
<?xml version="1.0" encoding="utf-8"?>
<RelativeLayout
    xmlns:android="http://schemas.android.com/apk/res/android"
    android:layout_width="match_parent"
    android:layout_height="match_parent"
    android:orientation="vertical">

    <View
        android:id="@+id/header"
        android:layout_width="match_parent"
        android:layout_height="120dp"/>

    <View
        android:id="@+id/body"
        android:layout_width="match_parent"
        android:layout_height="match_parent"
        android:layout_below="@id/header"/>

    <ImageButton
        android:layout_width="64dp"
        android:layout_height="64dp"
        android:src="@drawable/ic_home"
        android:id="@+id/fab"
        android:elevation="1dp"
        android:background="@drawable/rounded_button"
        android:layout_alignParentRight="true"
        android:layout_alignBottom="@id/header"
        android:layout_marginBottom="-32dp"
        android:layout_marginRight="20dp"/>

</RelativeLayout>
After this is done, all you need to do is to make the button round and set the its background colour. You do this by creating an xml file in your drawable folder. Let’s call it rounded_button.xml
drawable/rounded_button.xml
<?xml version="1.0" encoding="utf-8"?>
<shape
    xmlns:android="http://schemas.android.com/apk/res/android"
    android:shape="oval">

    <solid android:color="@android:color/holo_red_dark" />

</shape>
It’s that simple, all you have to do is style it to your needs and you will have something looking like the image below!